This post is for documentation for the Technology Department.
This procedure requires two programs to be installed in order to perform it correctly. The Windows XP Image Resize utility and the Bulk Rename Utility.
To add images to the Student Life Page:
-
Create the new album page under the new WSMS system and note the new page number.
- You should create a separate photo page per 100 photos
-
Modify the images
- Make a copy of the original images.
- Flip all images that need corrected
- Use the Microsoft Image Re-size utility and resize the images to (Small (640X480) and under advanced, make sure the Resize the original pictures (don’t create copies) is checked.
- Run the resize again for all images to a custom size of (75X75) this time making sure the Resize the original pictures is not checked. This will create the associated thumbnail view of the picture.
-
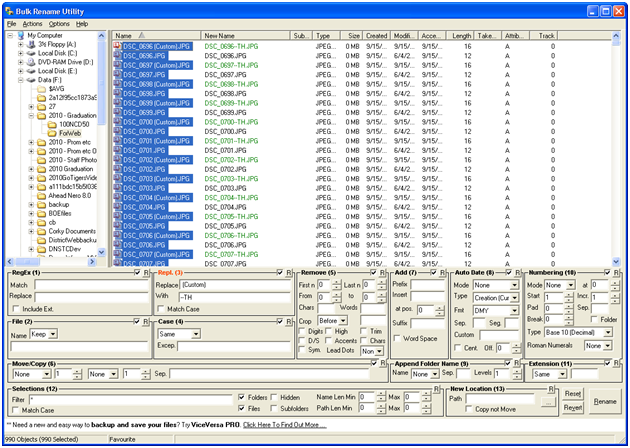
Use the Bulk Rename Utility to modify the name of the new thumb names to be the Image Name with – -TH appended to it.
- To do this, select all of the images in the folder.
-
Under the Repl. (3) section enter
- Replace (Custom)
- With – – TH
- Click on Rename
- Copy over the images to the web folder into the appropriate images/## folder.
- Finish and test the website.